

Sonic Unleashed, love it or hate it is one of those games that hit the mark for daytime stages, besides this was the debut of the “boost formula.” and the Hedgehog Engine 1, however it didn’t come with its complaints as it had two modes of play, the boost which was universally adored, plus it got made a Sonic Generations mod under the Unleashed Project in 2013, but it made the Werehog stages which when the game came out were universally hated and disliked due to the 60% runtime and it eating the majority of the gameplay tally chart and sandwiched between the boost layer.
Now, that we have an introduction to Unleashed, let’s talk about UnleashedRecomp and then I’ll list how to install it.
Unleashed Recomp is a recompile of Sonic Unleashed from the Xbox 360 using something called Static Recompilation, however I do not know the intricacies of the process, but take it as you are natively translating code to run on a computer, in to the X86 architecture. For many years, you had to settle for fan games that said they’d come out but never did, and Sonic Generations mods.
Now, let’s get down to the installation, before we begin, please read the system requirements, although it should work on any PC made in the last 7 years, there’s some minor requirements
These do not work on Xbox 360, PS3 hardware as I don’t have the means to tell you where and what to get for these editions.
- CPU with support for the AVX instruction set:
- Intel: Sandy Bridge (Intel Core 2nd Generation)
- AMD: Bulldozer (AMD FX series)
- GPU with support for Direct3D 12.0 (Shader Model 6) or Vulkan 1.2:
- NVIDIA: GeForce GT 630 (Kepler)
- AMD: Radeon HD 7750 (2012, not the RX 7000)
- Intel: HD Graphics 510 (Skylake)
- Memory:
- 8 GB minimum
- Operating System:
- Windows 10 (version 1909)
- A modern Linux distro such as Ubuntu 22.04 LTS
- Storage:
- With DLC: 10 GiB required
- Without DLC: 6 GiB required
For this tutorial, I will be installing the game on my test HDD which is drive letter J: in my computer in order to not wipe my main install of the game.

Go on a web browser of your choosing and navigate to Unleashed Recompiled GitHub repository, the link should look something like this

Navigate to the releases tab and it should look a little something like this

Click on it, and it should bring a ton of change logs, scroll down and click on assets

For this tutorial I will be using the Windows version, but get the Linux version if you use it, or own a steam deck.
If you wonder about how safe this is, I have done a VirusTotal score on this so you can rest easier, https://www.virustotal.com/gui/file/b22c40e97510a122476028d0462bc6dbc93abb124431e39680ae8dd463eba687
Now, I don’t want to lose my save so I’m going to back it up. If you ever need to reinstall your PC for some reason, here’s how to back it up.
Press Windows and R simultaneously to pop up this box and type appdata, and press enter.

Locate to Roaming and scroll down until you see UnleashedRecomp. Navigate to saves, and it should look like this

The path should be C:\Users\your user\AppData\Roaming\UnleashedRecomp\save.

Once you’ve downloaded and extracted the executable from the .zip folder, run the UnleashedRecomp exe. It should come up with something like this.

Select your language and click next

This screen will pop up telling you need an Xbox 360 copy of Sonic Unleashed, it takes both dumped game files and ISO, click next once you have verified you have the required game files

Here is where you provide the files for the sources and the final patch, Title Update 2. Give it the required files.

In this case, I am using a Sonic Unleashed disc image file, so click on it and click OK or double click.

You will also need the title update 2 patches so go ahead and provide that
Once the files have been provided, it will light up green in each box and allow you to click next.

Here is where you provide your DLC files if you have them, I have them somewhere on my main storage drive but I will skip this step as I do not have them to hand. Add them if you have them

It will ask you this but click yes if you want to skip this part, no if you want to add the DLC’s
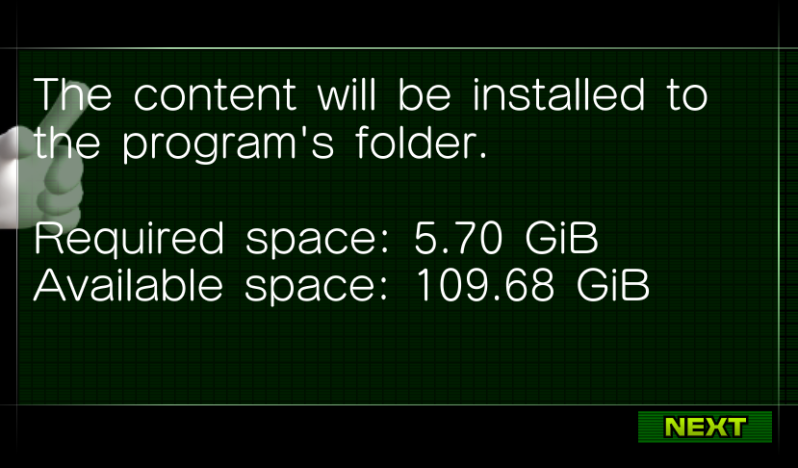
Here it will tell you the space it needs, if you have DLC this is significantly bigger, but it is 6 gigabytes for me, a stark difference compared to GTA V which is over a 110GB space.

Click next to proceed and now it’s the waiting game you play, get something to eat, and PLEASE hydrate guys!

It should install the game and the DLC if you provided it, it shouldn't take too long on the slowest of drives.

Once it’s finished it will credit the developers as it took a lot of people to do this recompilation upon thousands of hours over the course of multiple years reverse engineering Sonic Generations. It took 6 months to recompile Unleashed for PC. Click next and once this screen comes up, you're golden.

HedgeModManager Tutorial
Open a web browser and search for “Hedgemodmanager” and press enter. It should be this link here

Click on this and it should look something like this

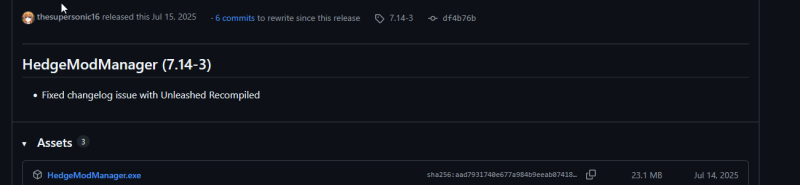
Go to Releases and click on it

This should pop up, it is safe, if you need more of a safety score: I have done a Virus Total scan which I will link: https://www.virustotal.com/gui/file/aad7931740e677a984b9eeab07418857421ca92e4f158080474592af0d3a0f68
Once you have downloaded the app, it should look a lot like this.

There are 3 sections, Mods, Codes and Settings, Mods are well, you guessed it, Mods,

And settings are well, the settings,

And settings are well, the settings,
HedgeModManager isn’t Unleashed specific,
it supports so many games, including BOTH Generations, 2011 and 2024 respectively, Lost World from 2013, well PC port from 2015 but we’ll use the Wii U date for accuracy.

To get mods, we’ll be using the site Game Banna, I will provide a link here for easy accesses, https://gamebanana.com/ or you can search for it on Google, however there is a TON of advertisements so be careful where you click,

The site is secure and been verified by Google Trust Services,
Type the name of the mod you want into the search box, so I will input Silver the Hedgehog
*MAKE SURE YOU TYPE IN SONIC UNLEASHED IN GAME AND MAKE SURE THE VERSION IS X360/PS3.*

Once you have chosen the mod you want to use, click on its preview photo and wait for it to load
Now you have three ways to import, which I only cover the HedgeModManager one
Navigate to HedgeModManager, and click on it.


This will come up to which you can click download to start the download process.

Now the download button will turn blue and the fuller it gets is how much it has downloaded so far, these mod files tend to be very small so they shouldn’t take too long even on the slowest of connections.

If you do not have a copy of 7-zip or WinRAR installed, it will fail and throw this error,
I am a personal 7-zip guy so a quick download for 7-zip I will link here, https://www.7-zip.org/
Assuming you have installed either of the 2 archiving programs, it should install, however I recommend a quick reboot as it will solve 99% of your issues.

Now we have the Mods we want it’s time to start the game up, head towards Save and Play and click on it.


it will proceed to start the game up, and load into a town of your choice, for me it’s Spagonia, and you’re golden! That’s it,
If any parts felt too rambley, or you need help with a problem, or want to let me know feedback, please let me know on Twitter, sorry I can’t get used to calling it X, by DMing me, my @ is @gromitfoxzero! I’d love to hear your feedback.
Add comment
Comments